
Access Your Cluster from Terminal
To access your cluster from your terminal, follow these steps:
Install kubectl
You will need to install the Kubernetes CLI (kubectl).
Connect kubectl
With osctl, merge the kubeconfig into ~/.kube/config and select the cluster:
osctl kubernetes kubeconfig save CLUSTER_ID --useThe kubectl context name is the cluster name (for example my-cluster). Switch later with osctl kubernetes kubeconfig use CLUSTER_ID or kubectl config use-context CLUSTER_NAME.
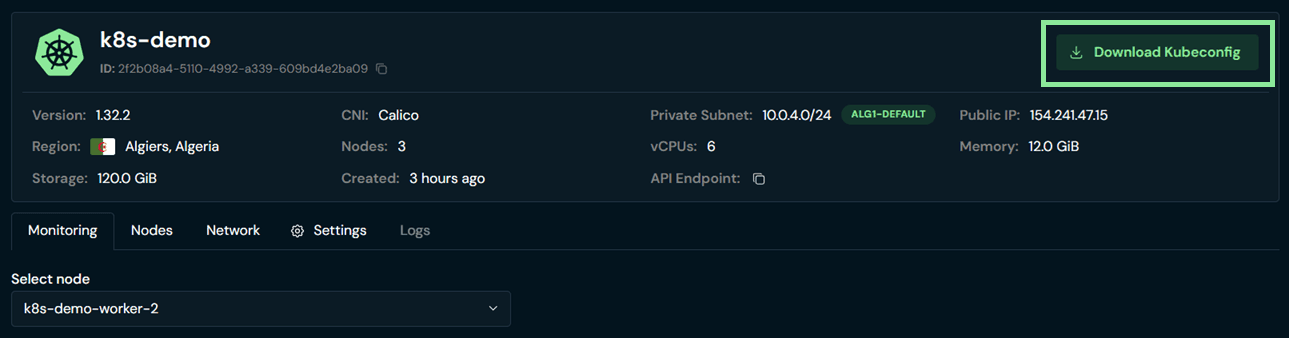
If you already downloaded the file from the console, click Download Kubeconfig on the cluster details page and point kubectl at that file:
export KUBECONFIG=PATH_TO_YOUR_KUBECONFIG_FILE$env:KUBECONFIG = "C:\Users\YOUR_USERNAME\Downloads\YOUR_KUBECONFIG_YAML_FILE"Done!
You may now access your cluster using the kubectl command. Try it out:
kubectl get nodesAllow Scheduling on Single Node Cluster
Single Node Cluster
If you are using a single node cluster, you need to allow scheduling on the node.
kubectl taint nodes --all node-role.kubernetes.io/control-plane-Next Steps
Configure Load Balancer
Add a load balancer to your cluster to allow public access to your cluster.