
Wizard
The Wizard create path builds an Elastic Server and wires a Load Balancer in one flow: Elastic Server → Load Balancer → Backend → Frontend.
You can always attach a Load Balancer to an Elastic Server later. For Elastic Server only, use the Manual quick start.
Before you start
For a light autoscaling check at the end, use small limits while creating the Elastic Server (you can tighten them later in Manage):
| Setting | Suggested test values |
|---|---|
| Min / max nodes | 1 / 3 |
| Metric | CPU % |
| Min threshold | 5 (scale down below this) |
| Max threshold | 25 (scale up above this) |
| Metrics interval | 30 seconds |
| Cooldown | 60 seconds (must be greater than the interval) |
That keeps the scale-up trigger easy to hit with light CPU load, without needing a heavy workload.
Step 1: Elastic Server
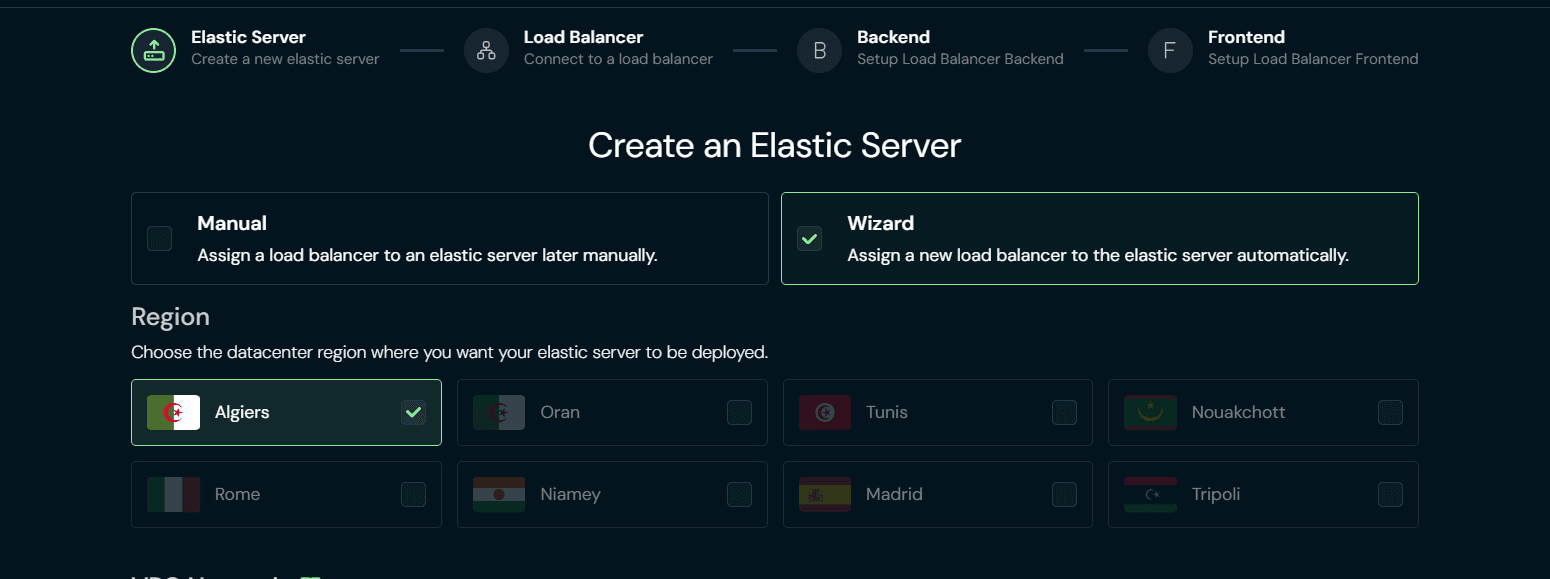
Fill the Elastic Server form
Same fields as Manual create: region, VPC, scale configuration (use the test values above if you plan to verify), image, node size, name, authentication, and a required initialization script.
Click Create Elastic Server and wait for progress to finish. The wizard advances to the Load Balancer step automatically.
Step 2: Load Balancer
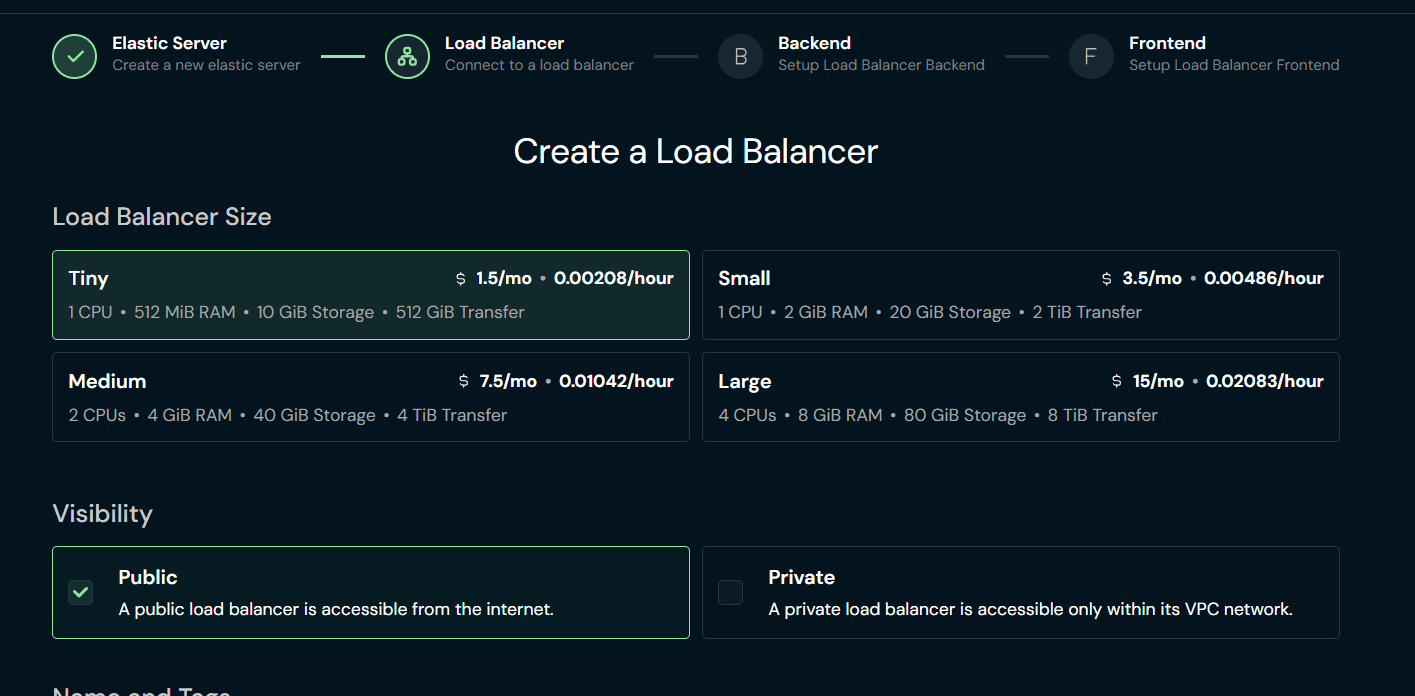
Region and VPC are taken from the Elastic Server and hidden so the load balancer stays on the same network.
Fill visibility (Public or Private), plan/size, name (a suggestion like lb-es-<your-es-name> is prefilled), then create.
More detail: Load Balancer Quick Start.
Step 3: Backend
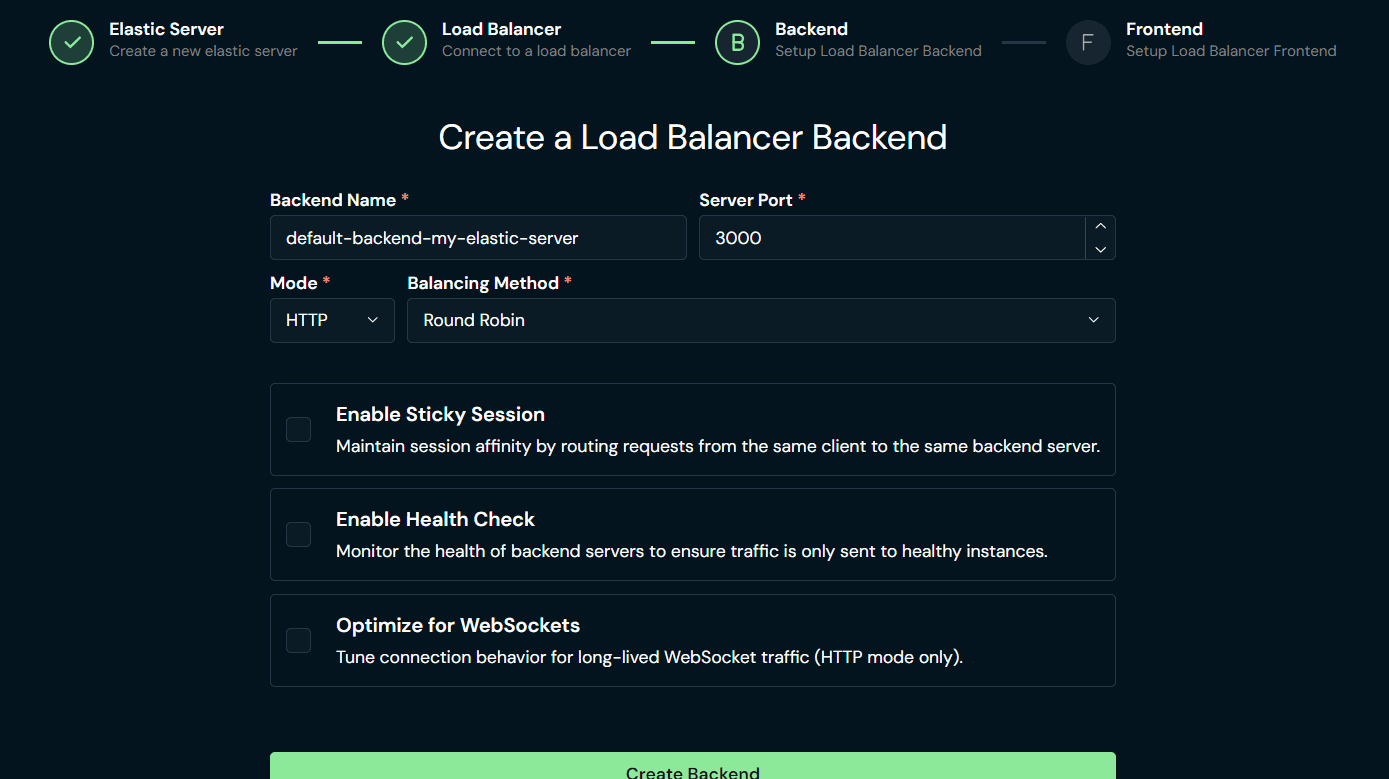
The wizard preselects your new Elastic Server as the backend target and hides the server picker. You still set:
- Name (suggested)
- Port (the port your app listens on on each node)
- Mode (HTTP or TCP; frontend must match later)
- Load balancing method, and optional sticky sessions / health checks
Create the backend to continue.
More detail: Load Balancer Backend.
Step 4: Frontend
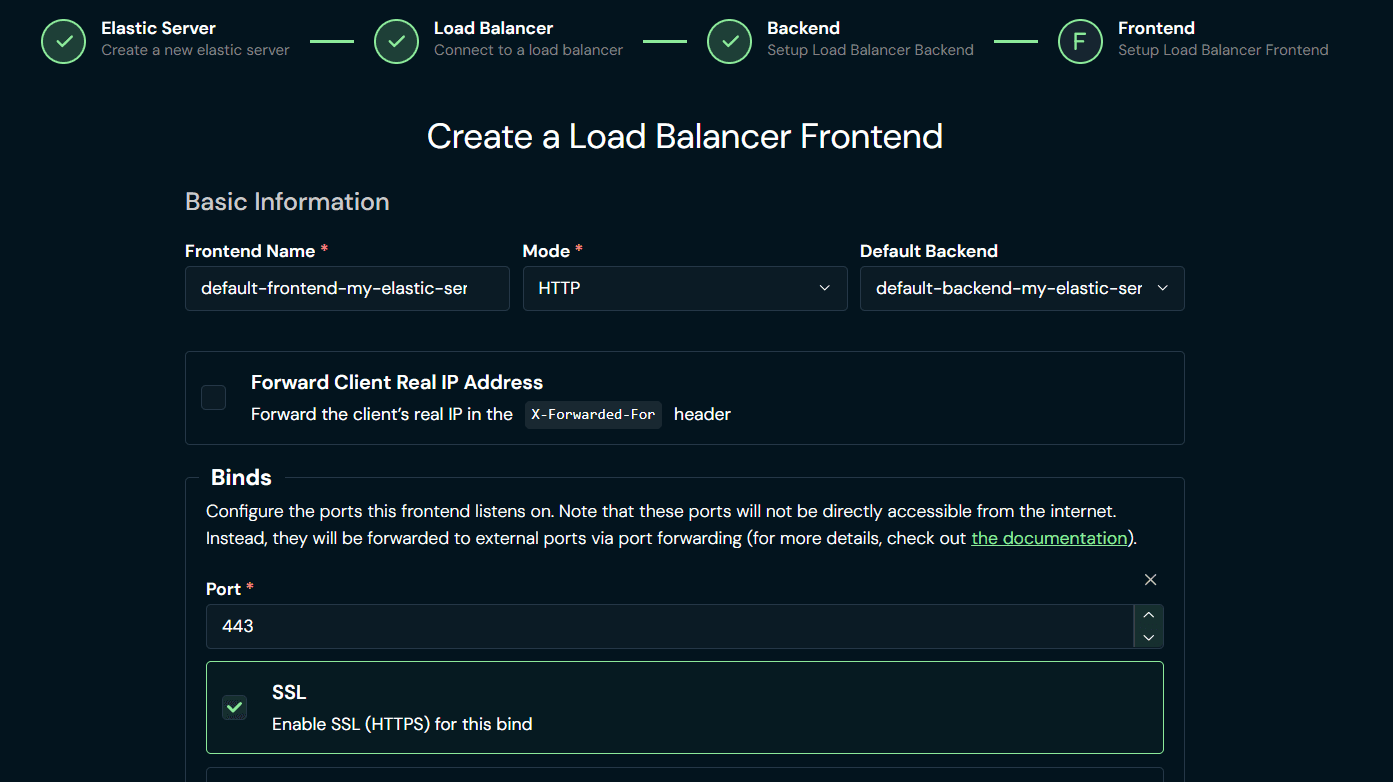
Defaults are filled from the previous step (default backend name and matching mode). Set:
- Name
- Port / binds (for example
80for HTTP) - Optional ACLs and backend switching rules
Create the frontend to finish the wizard.
More detail: Load Balancer Frontend.
Success
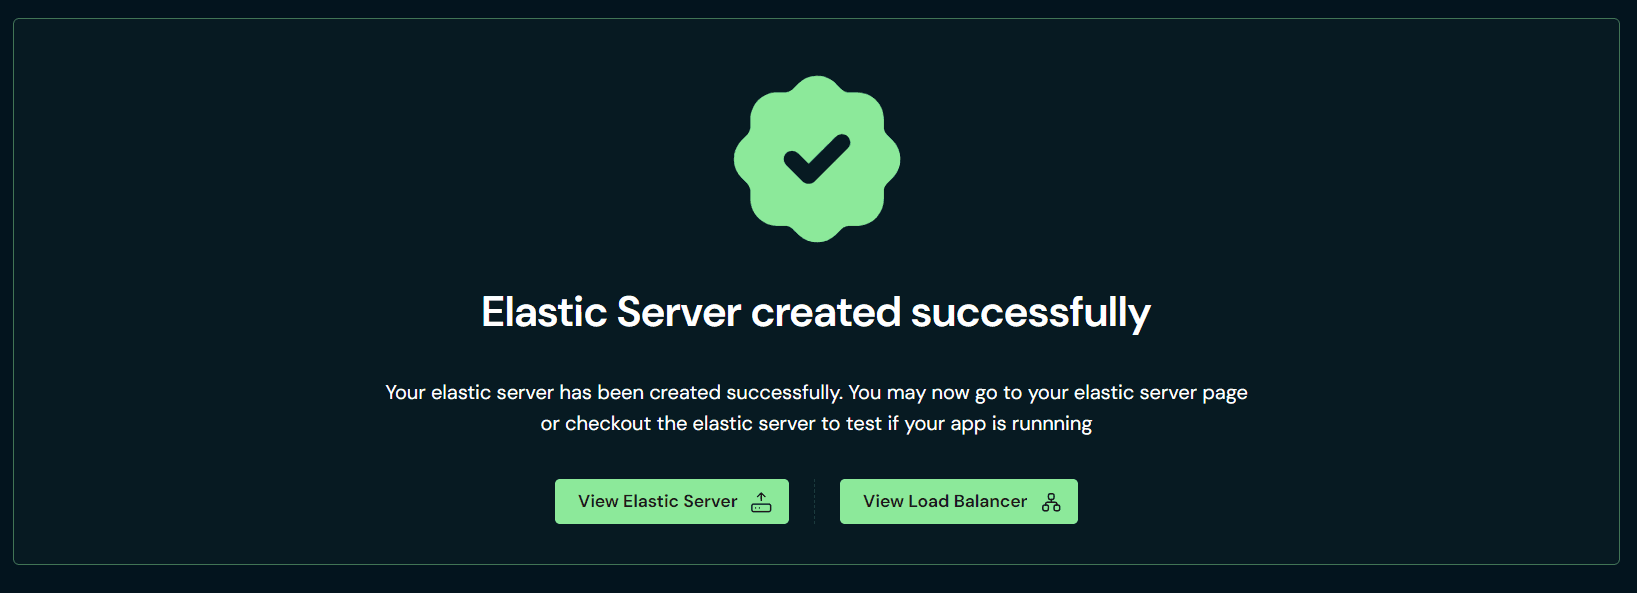
You should see a green success banner with View Elastic Server and View Load Balancer.
Verify autoscaling (light stress)
This check proves the pool can scale up under a small CPU load. Use the test thresholds from the table above (or edit scale config to match).
Confirm the starting pool
Open View Elastic Server → Nodes. You should see your minimum node count (for example one node) in a ready state.
Generate light CPU load on a node
Open that node (click the row) → Console (or SSH), then run a short, light CPU burn. Example on Debian/Ubuntu:
sudo apt-get update && sudo apt-get install -y stress
stress --cpu 1 --timeout 180
One busy core is usually enough to push average CPU above a 25% max threshold on a small node size. Stop earlier with Ctrl+C if you already see scale-up.
Watch for a new node
Back on the Elastic Server Nodes tab, wait through at least one metrics interval plus cooldown (with the suggested values, on the order of a couple of minutes). A second node should appear when CPU stays above the max threshold.
Tip
If nothing scales, check that autoscaling is Active on the Actions tab, that cooldown has elapsed since the last scale event, and that Monitoring shows CPU above your max threshold for the metrics interval.
Optional: confirm the load balancer path
Open View Load Balancer: Backend should target this Elastic Server; Frontend should show your bind/address. For a full demo app behind the LB, see the Load Balancer Sample App.
When you are done testing, raise thresholds / cooldown for production, or pause autoscaling while you change config.